Azure Kubernetes Service (AKS) upgrade your node pools
This blog post provides step-by-step instructions and includes screenshots to illustrate the process of upgrading node pools in AKS.

Whenever you work with AKS and the amount of services increases there comes a moment that also the number of nodes in your pool(s) are increasing. Luckily AKS uses, by default, automatic scaling in order to keep your containers running perfectly. But sometimes it's necessary to upgrade your node pools because your services are memory intensive or you need more CPU on your nodes because of the intensive amount of calculations that are done. In these cases instead of increasing your nodes, it might be cheaper to upgrade your pool.
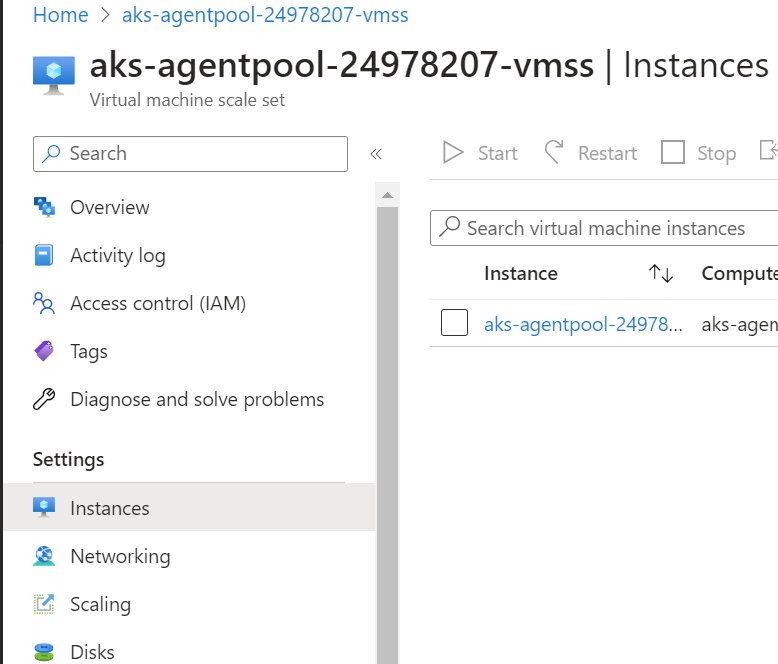
Before upgrading your, it is always wise to double-check your instances to see what they are lacking. In order to check, you need to navigate to the Virtual machine scale set, which runs your node pool. Now select the instance, which you want to inspect. Look at each separate instance to investigate what they need. Higher CPU? Higher memory? Better IO?
Setup a new node pool
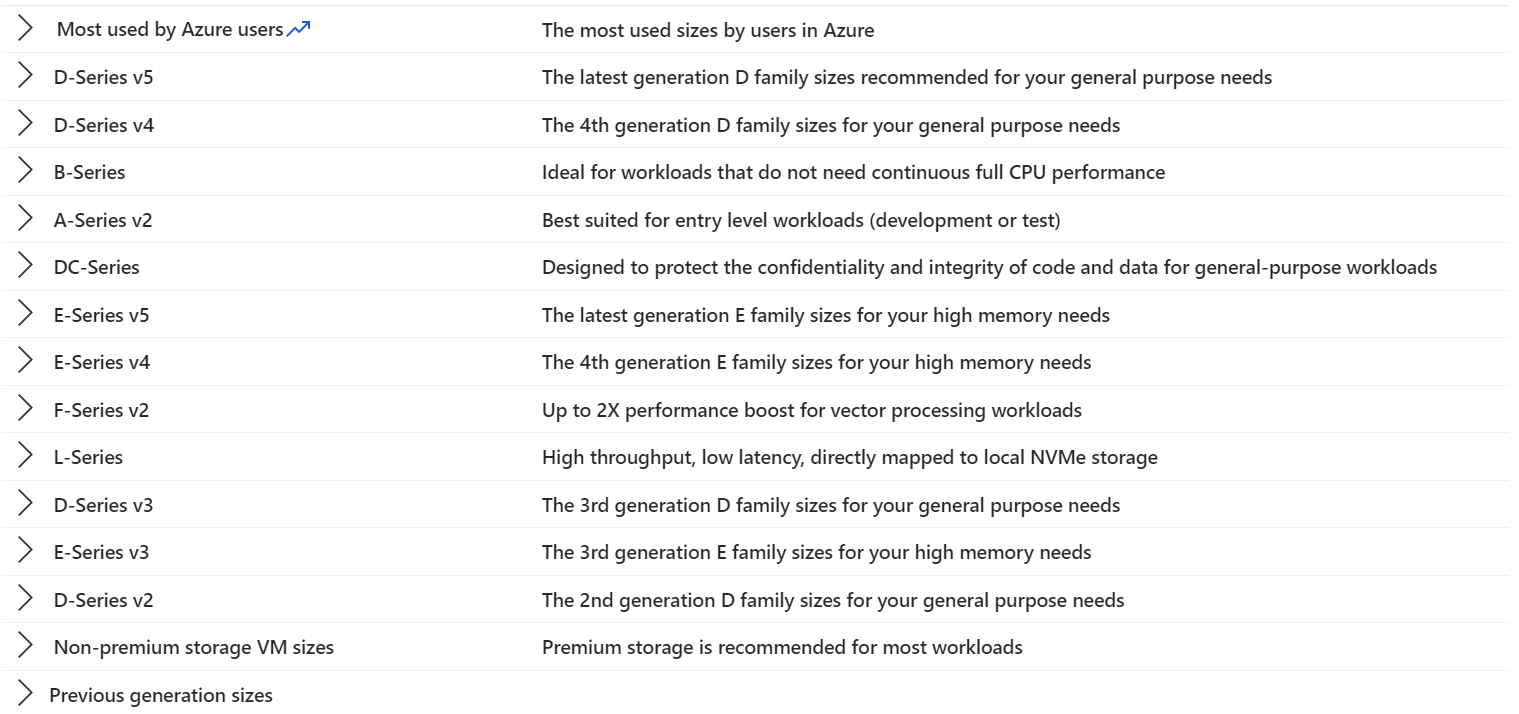
Before we start creating a new node pool, first establish want kind of VM host you want and in what mode you want it running.
Below is a list of VM series you can choose from.
Next, we need to select the Mode in which the new node pool, needs to be running. You have 2 types to choose from. You have User and System.
System node pools are preferred for system pods (used to keep AKS running).
User nodes are primarily designed for your services, but, if enough capacity, system nodes can also run your services.
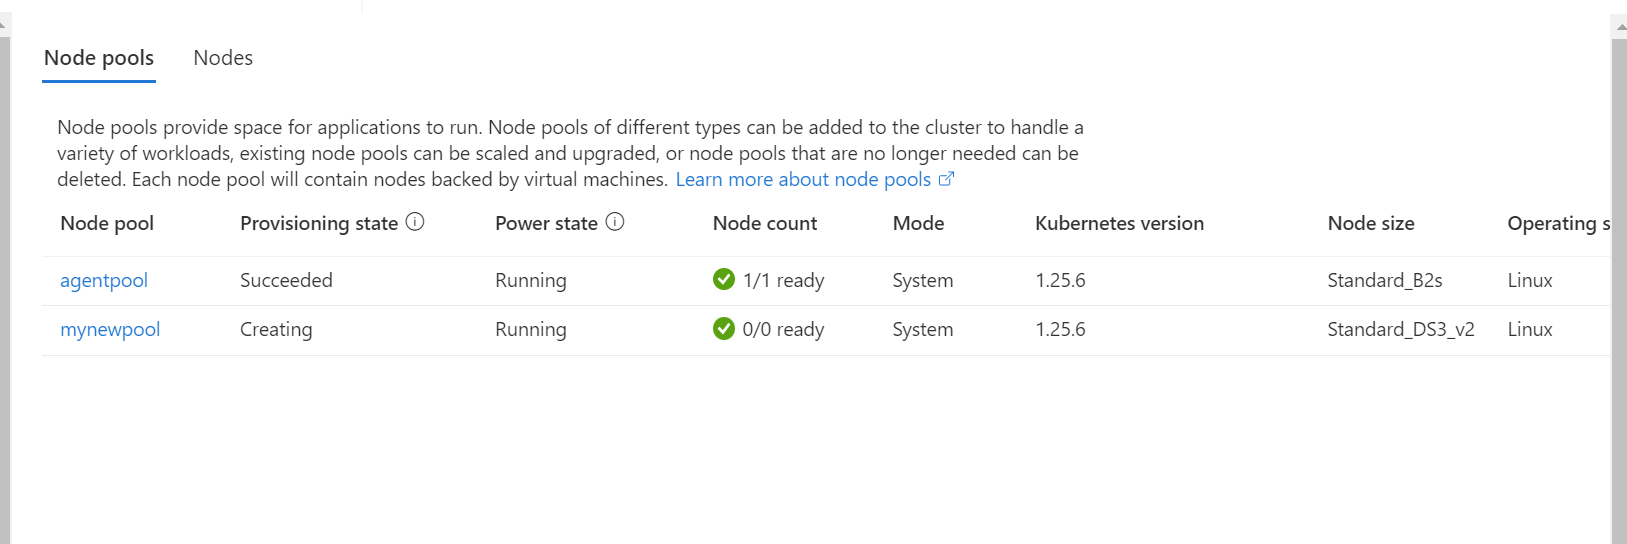
Since I only have 1 node pool in my example, it's a system node.
In order to upgrade, I first need to create a new System node pool pool.
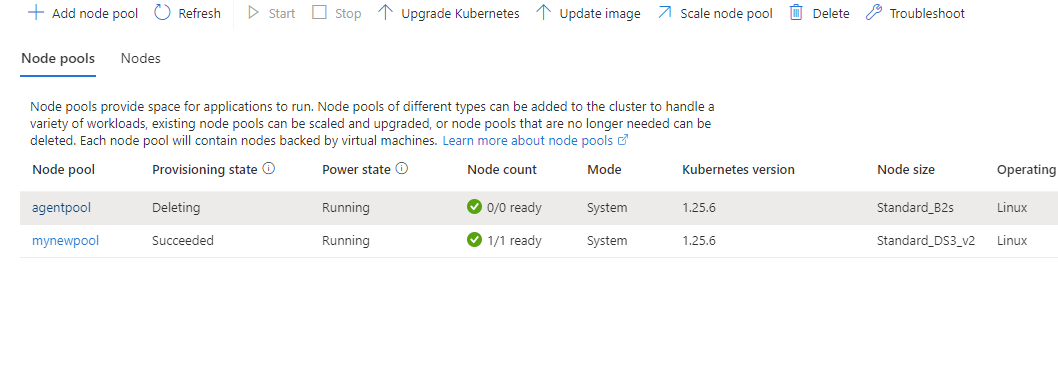
az aks nodepool add --resource-group myResourceGroup --cluster-name myAKSCluster --name mynewpool --node-count 1 --node-vm-size Standard_DS3_v2 --mode System --no-waitIn the picture below, you see that my new node pool is being created. The old one is still services requests.
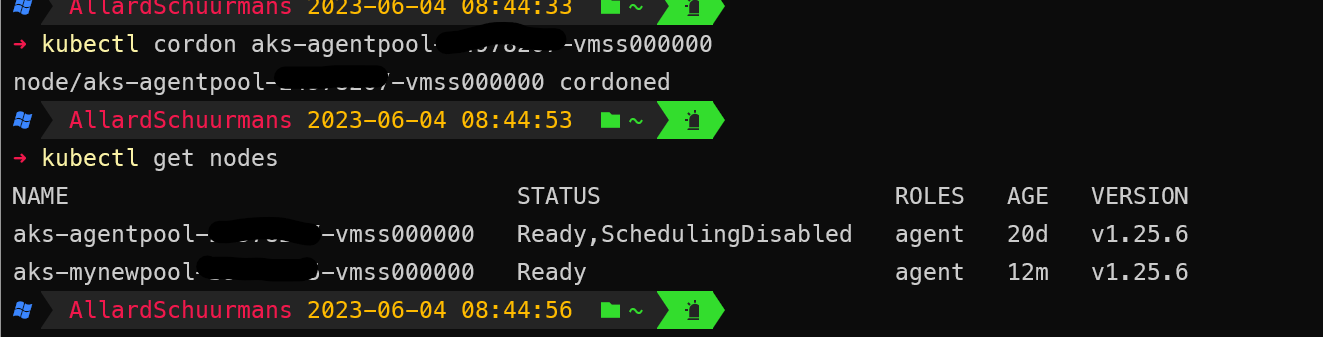
Now we need to tell AKS that we don't want new pods or workloads being created using the old node pool. We do this by using the following command
kubectl cordon aks-agentpool-xxxxxxxx-vmss000000After we executed that cordon command, we see that our old node pool is disabled for scheduling. (see picture below)
That means that all the new loads or workloads are automatically being done by our newly created node pool. But we also want to delete our old node pool. In order to do that we need to empty the old pool.
Make sure that you have enough capacity on your new pools, before you start to empty your old pools
In order to empty the old, and to delete them, we need to use the drain command like so.
kubectl drain aks-agentpool-xxxxxxxx-vmss000000 --ignore-daemonsets --delete-emptydir-dataWhen that command is running, AKS will try to stop all containers and makes sure that all workload is being taken over by other nodes.
Make sure that you have a node pool running in System mode, before emptying the old System node pool.
When the previous command is done, you can initiate the command for the deletion of your old node pool.
az aks nodepool delete --resource-group myResourceGroup --cluster-name myAKSCluster --name nodepoolYou can now see that your old pool is being deleted.


Comments ()